
Introduction
Recently, I replaced the battery on my Lenovo X1 Carbon (5th Gen) laptop. Although there are existing tutorials for doing this, they miss a few little details which are quite important. This post aims to give a complete run-down on how to replace this laptop’s battery.
I am using iFixit’s Fix Kit for this model, it contains both a replacement battery itself, along with the tools needed to carry out the repair. Let’s see a few of the reviews:
For context, I have an X1 Carbon 6th Gen. The holes for the screws to secure the battery were misaligned, making for one screw to go in at an angle and another screw not to “bite” at all. That said, the battery itself seems to work fine, and it’s secured well enough with the two remaining screws and the angled one. If you’re just trying to get a replacement battery and don’t really care about *all* the screws fitting in nicely then this works fine.
User asreedh on iFixit
I followed the instructions available from IFIXIT and everything went smoothly. however, one of the screws did not fit but the battery is attached very well.
User Mohamad Bamanie on iFixit
Another review also mentions this ill-fitting screw, and it turned out to be the case with me as well (even though I have a 5th Gen, not 6th Gen, model). However, there is a fix to this, which I will get to soon.
Unboxing the Fix Kit
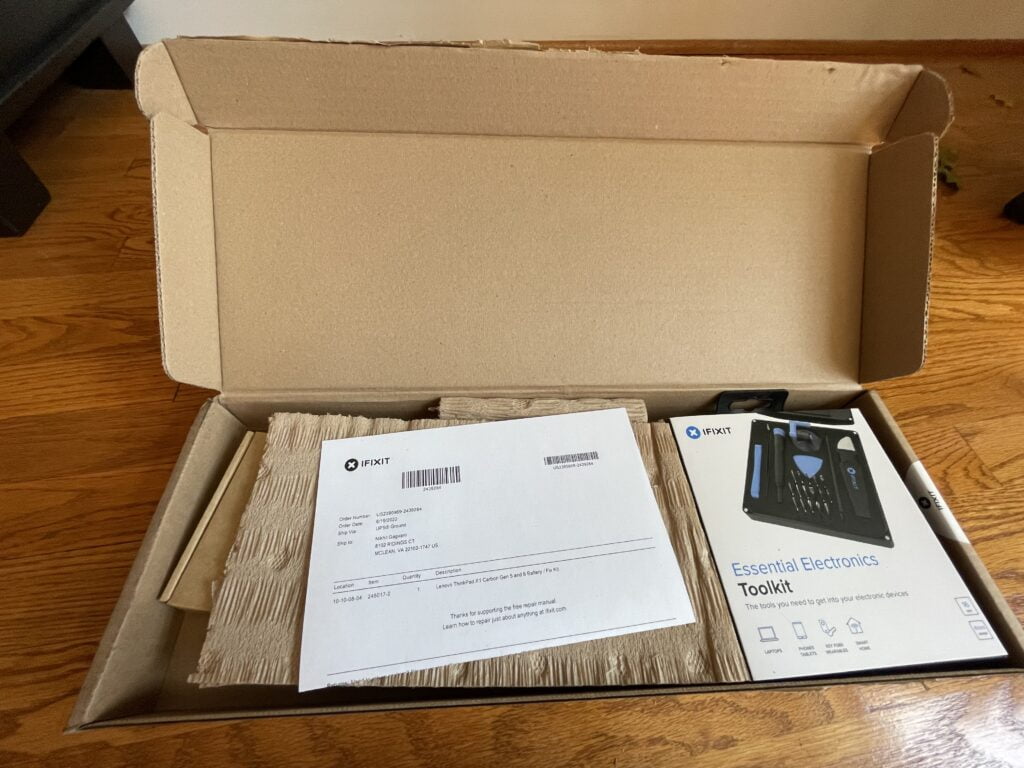
The battery and the toolkit are included in separate boxes:

Replacing the battery!
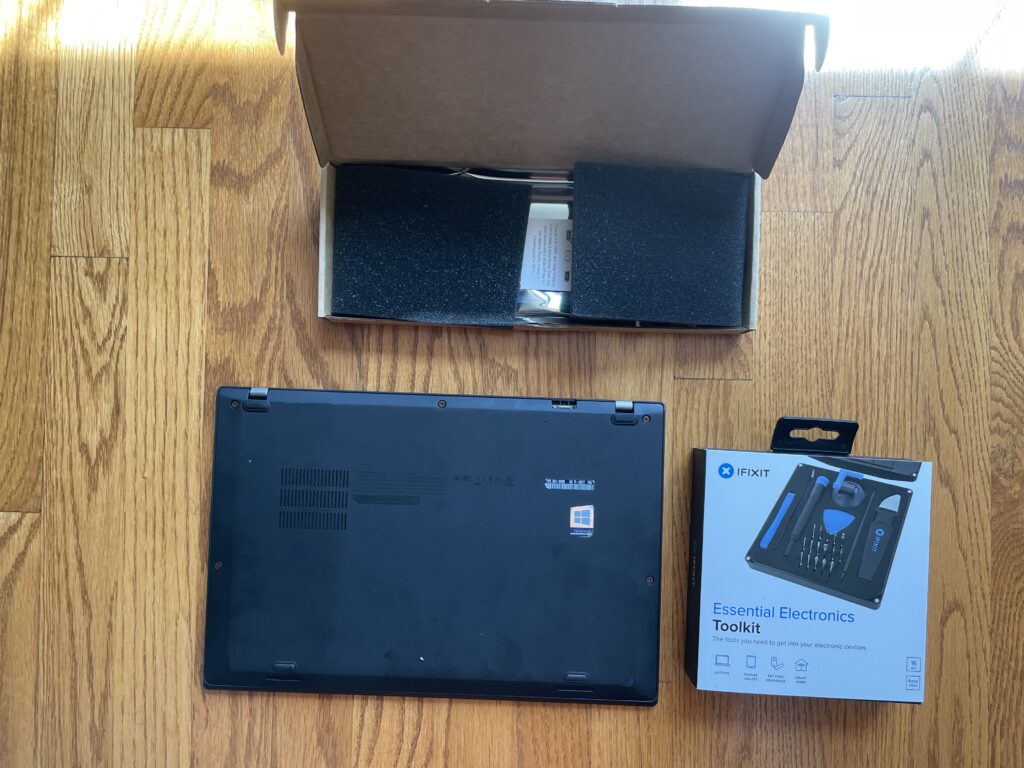
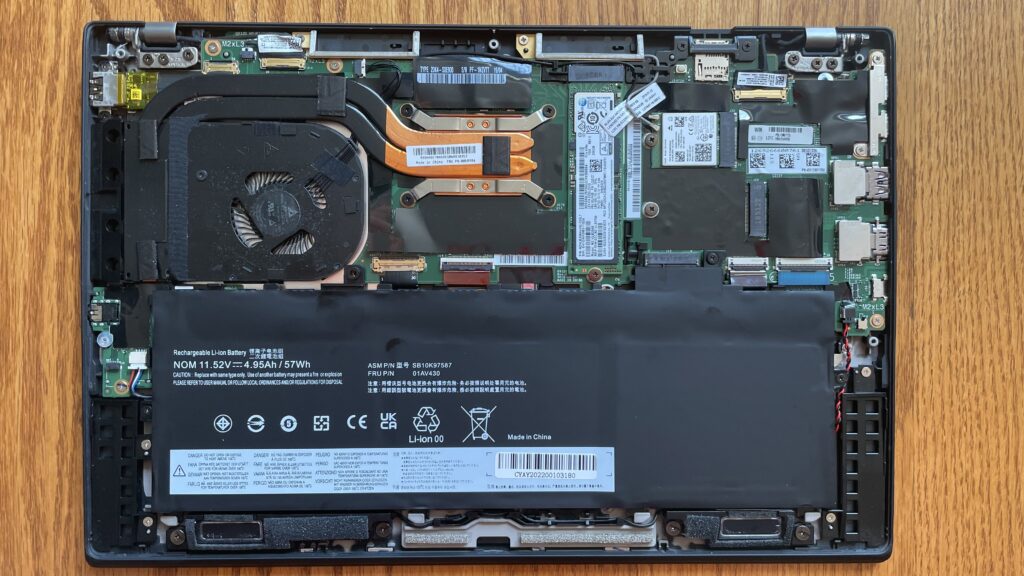
Now, it’s time to actually replace the battery! The first step is to remove the 5 Phillips-head screws on the back cover of the laptop. Make sure to completely remove them and store them somewhere safe so they don’t get lost. At this point, the bottom cover won’t come off because it is still secured by tabs. Use the spudger to pry open the edges and remove the cover.
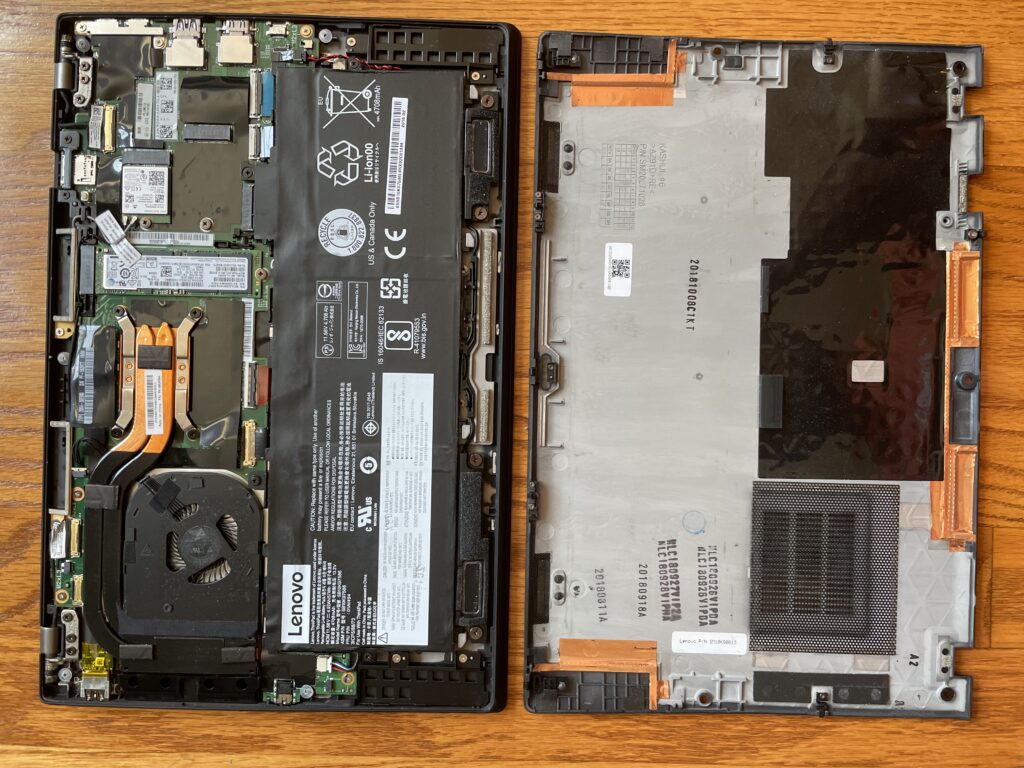
Now, the old battery can be removed. To do this, unscrew the 4 screws which keep the battery secured to the chassis. Make sure to keep them separate from the other screws from the back cover.
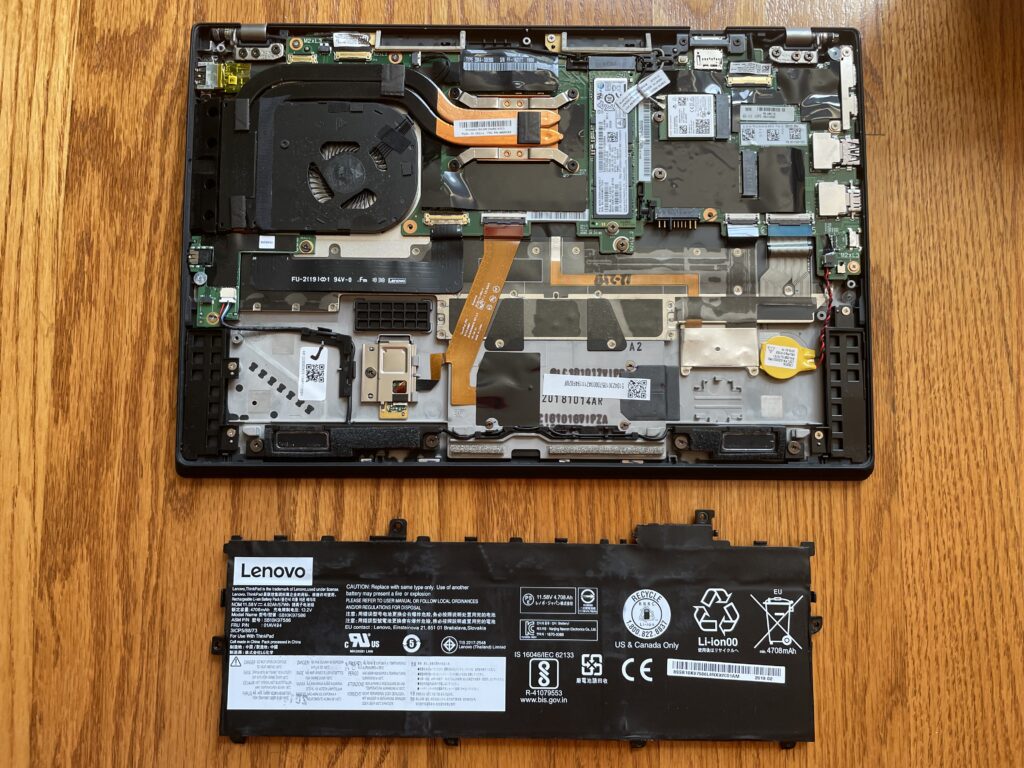
Now it’s time to put on the new battery! Right? Well, the new battery doesn’t quite fit, as the reviews from before showed. It was true with my laptop as well. Here’s how to fix it.
Zoom in on the image below:
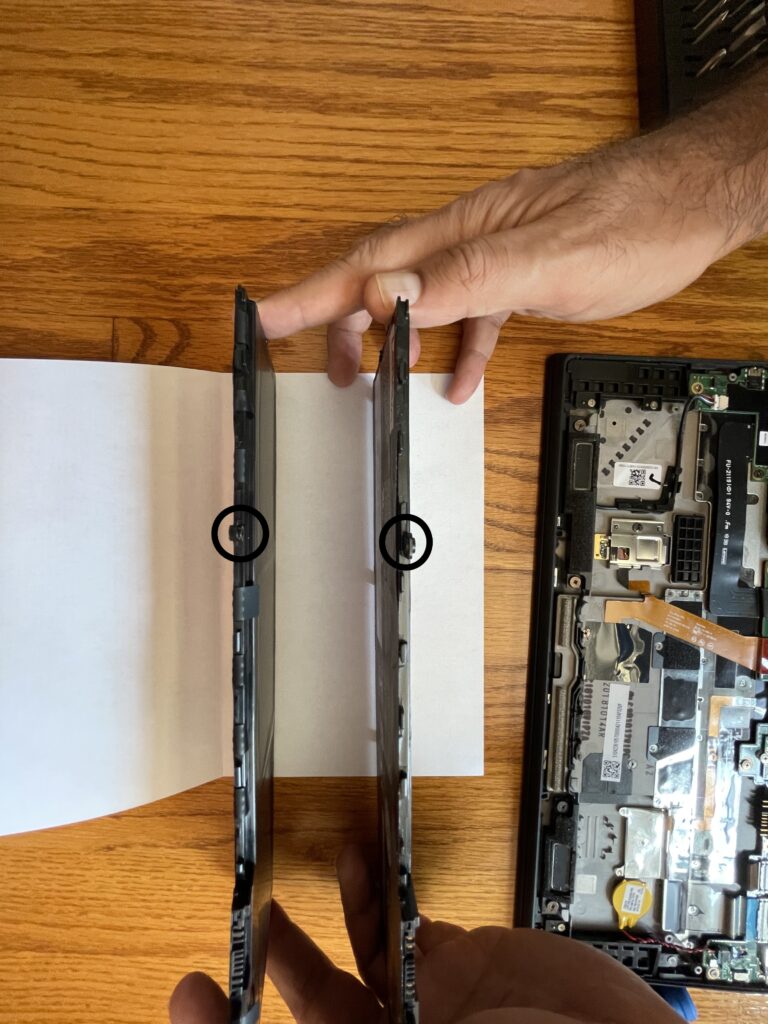
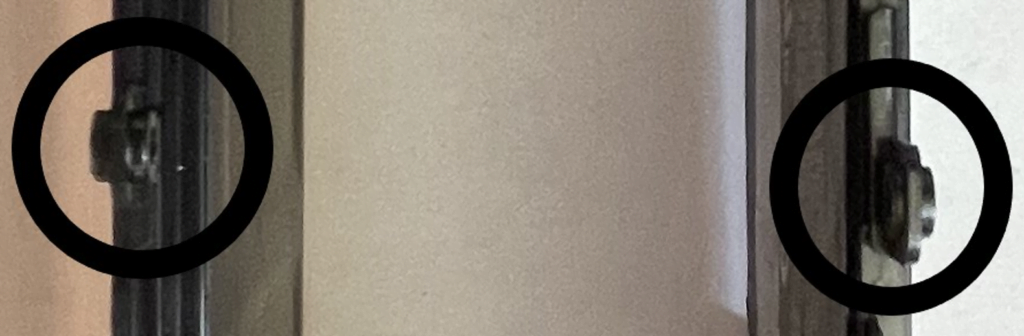
Notice how the tab circled on the original battery (right) is much thinner than the tab on the new battery (left). The thicker tab doesn’t allow the screw to go into the chassis because it the tab is too thick. Here’s another view:
This is quite easy to fix. Just get a flat file and whittle down the plastic until it is thin enough. Make sure to not file off the actual battery pack’s casing as puncturing it could cause a fire.
Once you’ve filed off the excess plastic, the new battery should fit perfectly!
The only step remaining is to put back the back cover. Then, fully charge the laptop for ~24 hours, and then fully (to 0%) discharge it. This will allow the battery “fuel gauge meter” a chance to recalibrate since the new battery has different voltages corresponding to different charge levels compared to the original battery.


