Introduction
During the lockdown, computer usage reached an all-time high. While trying to find a computer to use, I stumbled upon an old desktop tower PC that hadn’t been used in months. Booting it up, Task Manager revealed a CPU from 10 years ago, and a singular spinning hard drive. It was slow and laggy, and even Google Chrome crashed frequently. I resolved to upgrade it so that it would be usable in the future.
Part Selection
The first thing I did was figure out which parts that needed replacement. To do this, I looked at each individual part of the PC:
| CPU | After running a few tests of basic PC usage, I found the CPU wasn’t hindering my experience using the PC. |
| RAM | Although basic web browsing caused the PC to come up to the limits of its memory, I decided to not add more memory since it uses old, expensive and hard-to-find DDR3. |
| Boot Drive | This was probably the most needed area of improvement. The PC took over a minute to boot with its old 2010 hard drive, and programs also loaded sluggishly. I replaced this with a Samsung 860 EVO as the boot drives and 2 WD Blue hard drives for storage. |
| Graphics | The graphics were part of the CPU’s integrated GPU, and were perfectly fine for Zoom calls and everyday usage. |
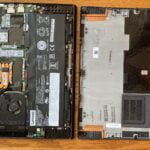
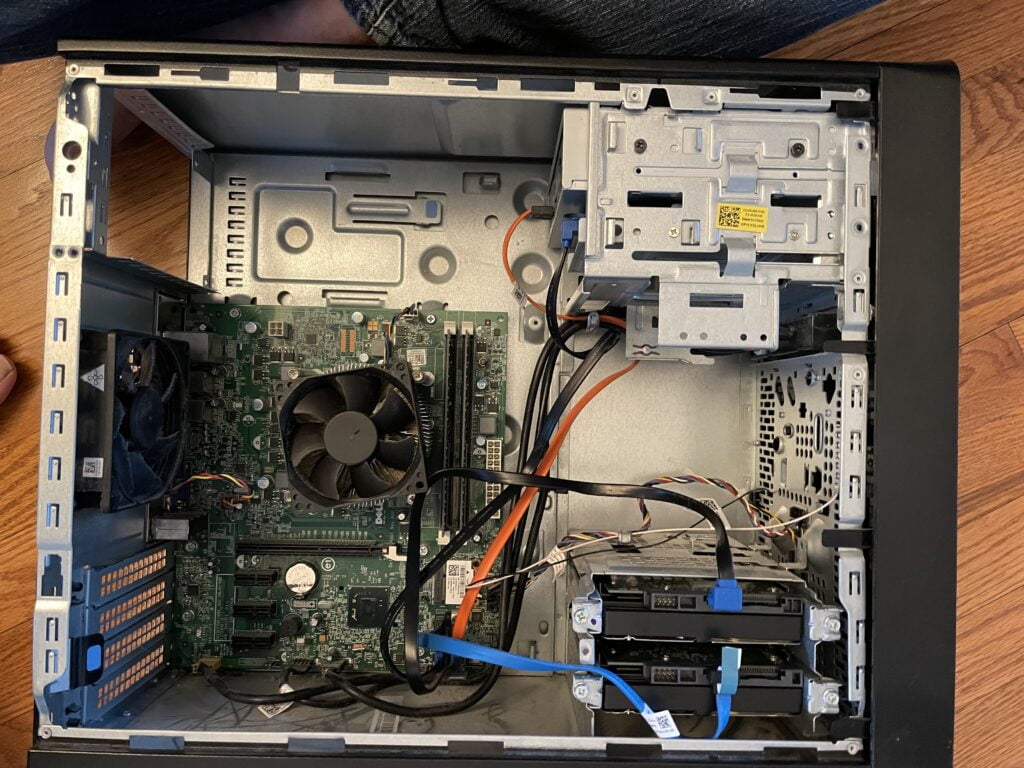
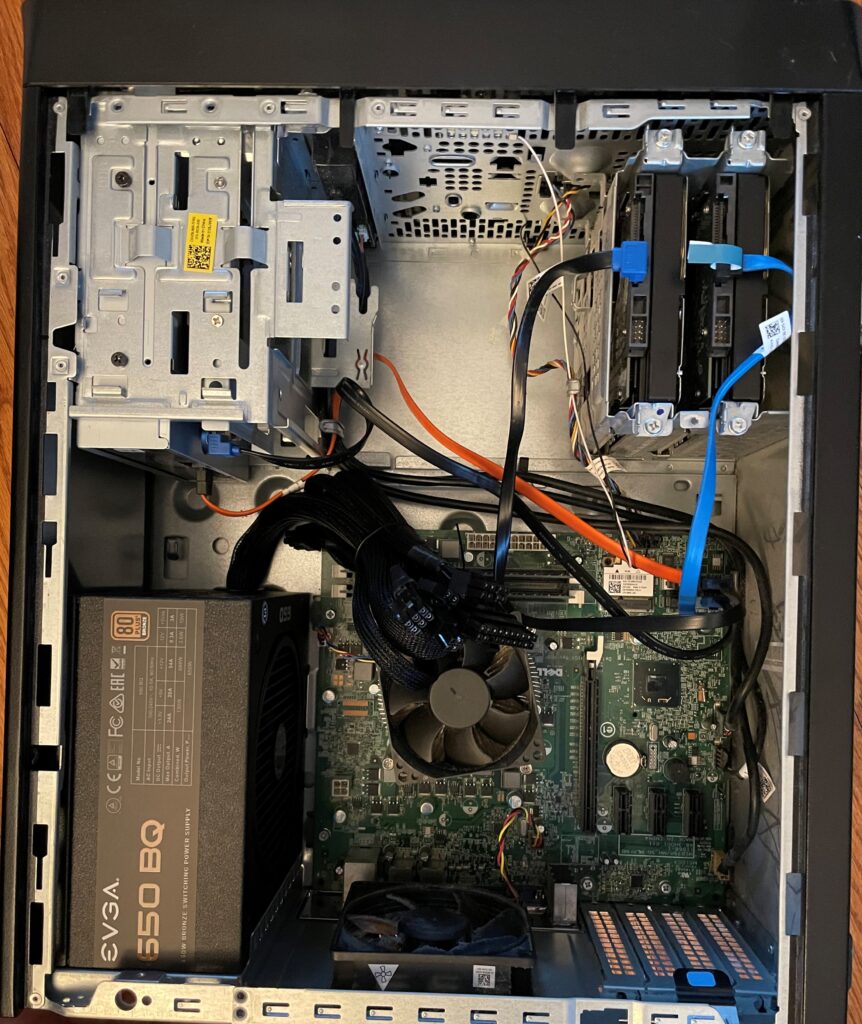
I installed the 2 WD hard drives in the hard drive caddy, and the SSD in an empty 5.25″ bay using an adapter like this one. In the end, this is what my PC looked like:

Further Upgrades
Even after these upgrades, I still wasn’t satisfied. At the time, I had recently started some experimentation with AIs inside of video games, such as Forza Horizon. (You can find the code for my experiments on GitHub). These AIs require the game and the AI to be running simultaneously, and this is very demanding both the CPU and graphics in the PC. Furthermore, running the AI model on the CPU caused it to run at a very low refresh rate. The best solution to these problems was a dGPU: A dedicated graphics processing unit which could greatly accelerate the AI computations as well as the rendering of the game itself.
But there was one slight problem…
Graphics cards were impossible to buy!
With the chip shortage, and Ethereum reaching an all-time highs, graphics cards were rare as diamonds. I created a bot using Selenium to notify me of Best Buy card drops, and signed up for various notification services for GPU availability. At this point, I had cast a really wide net, from low-performance, $200 Nvidia GTX 1650s to hugely expensive RTX 3090s.
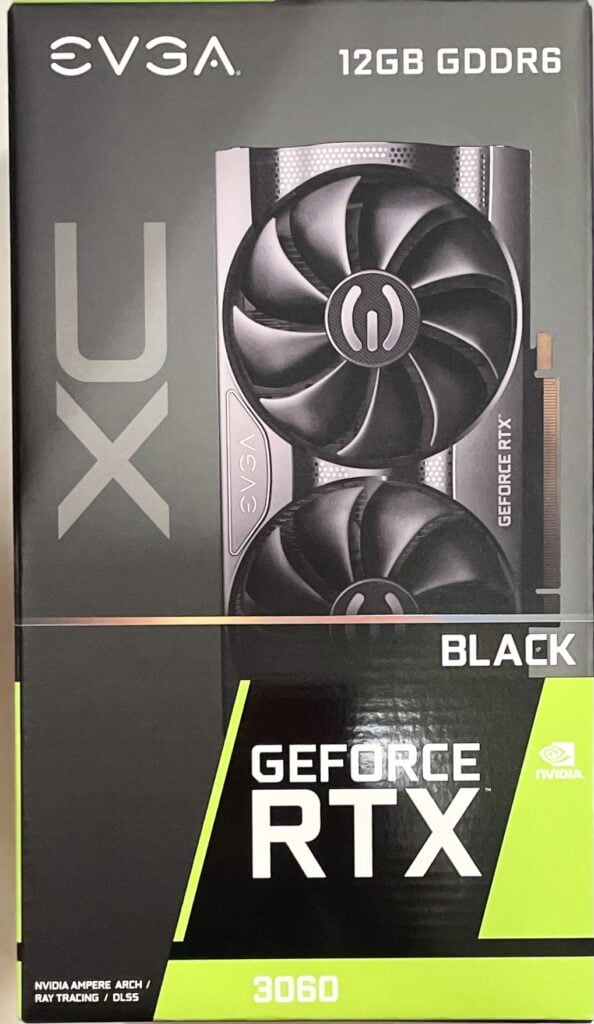
11 months after first signing up, I received a notification from EVGA notifying me I had come to the front of their EVGA Queue for RTX 3060 graphics cards. Without hesitation, I bought it and it was at my doorstep within a few days! (Quick note: I received the GPU around December 2020).
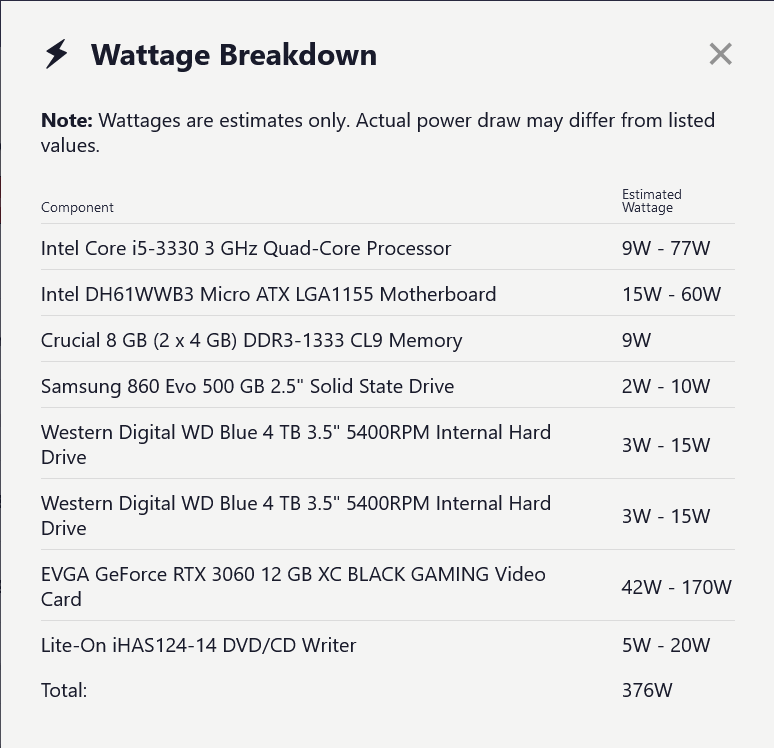
Now for the tricky part. This fancy new graphics card wouldn’t immediately be plug-and-play. The 200 W power supply already in the computer wouldn’t be able to handle the 170W power draw of the RTX 3060 and the rest of the components. PC Part Picker gave me the following summary:
So, clearly a new power supply was needed. I took a look at the original user manual for my PC and found it accommodates a standard ATX power supply (Many modern pre-built PCs do not).
At this point, I simply went to the nearest Micro Center and found a suitable power supply: the EVGA BQ 650 Watt. This power supply would have plenty of headroom for further upgrades and was also semi-modular, helpful for cable management.
Power Supply Replacement
First, I removed the power supply by unscrewing the 4 screw on the back of the power supply and pulling it out of the case.
Then I inserted the new power supply and screwed it back in. Power supply replacement is a lot easier than I thought it would be!

Finally, I plugged in the 24-pin power connector, the 4-pin power connector, and the various SATA power connectors from the power supply.
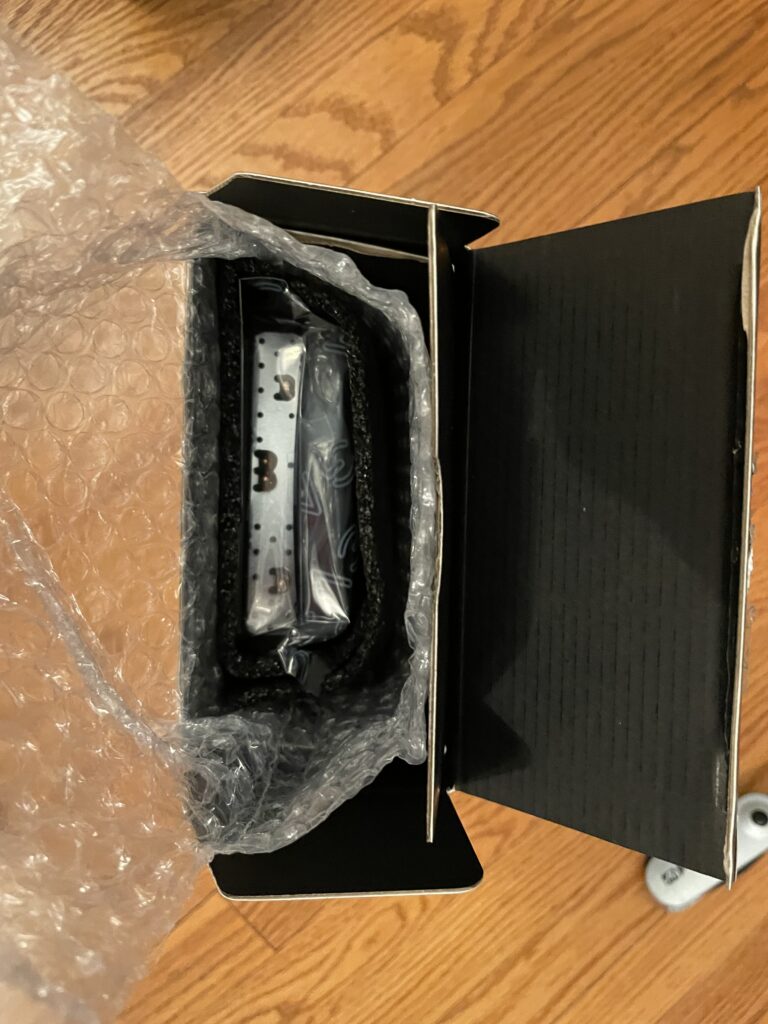
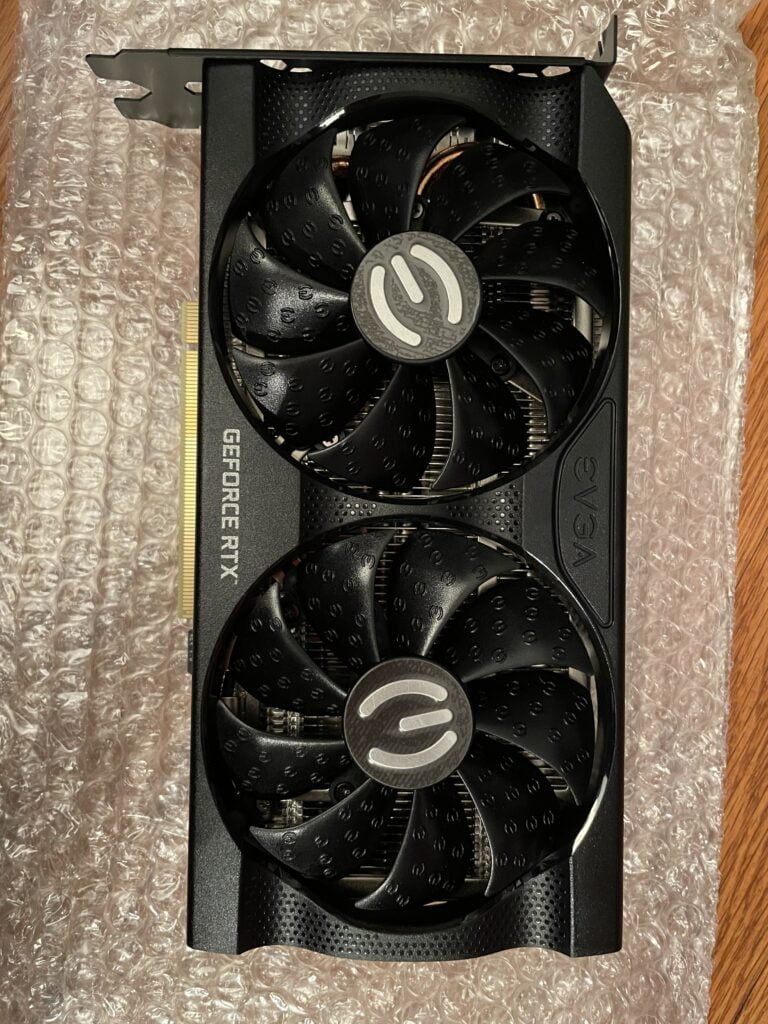
GPU Unboxing and Installation
Unboxing was straightforward:

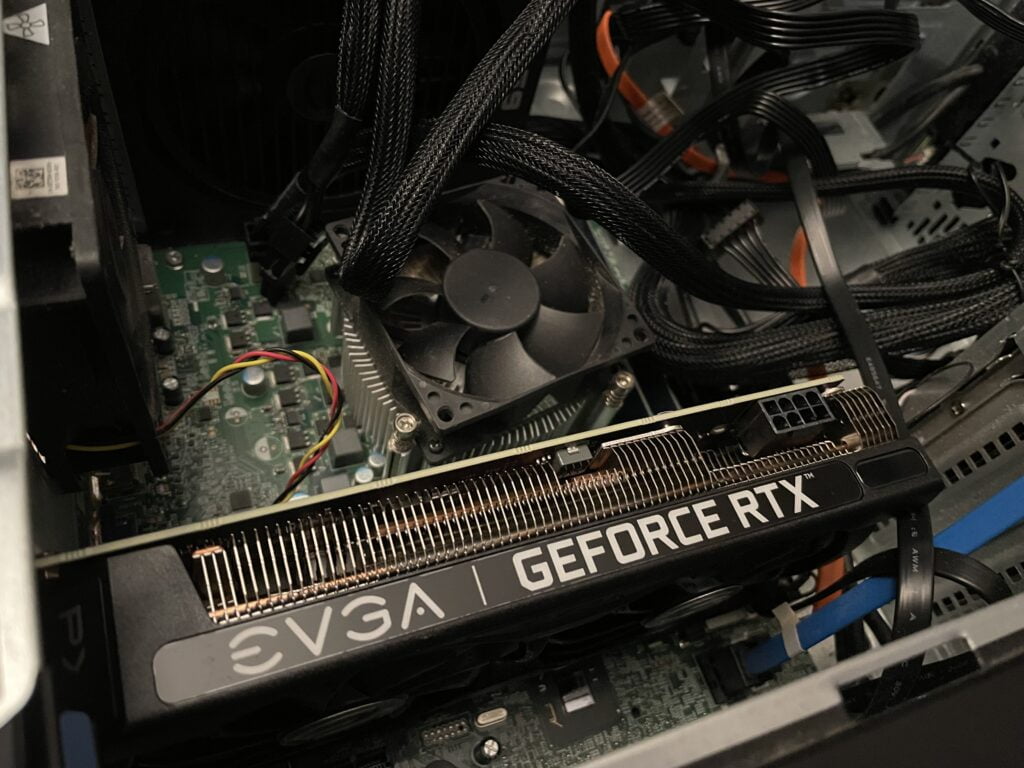
Installation was also pretty easy: All I had to to was remove the slot cover and gently slide the GPU into the PCIe x16 slot. Then I locked it in place and plugged in the external power connector from the power supply.
Once I powered it on, I had to install the NVIDIA GPU drives to get the display to work at the correct resolution. Since then, it’s been smooth sailing!
Benchmarks coming soon!